Mudding/Finishing of the
Sheetrock
in the
Ventura-Gutek ICF House and Studio
|
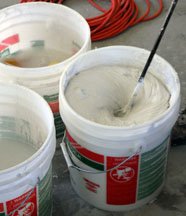
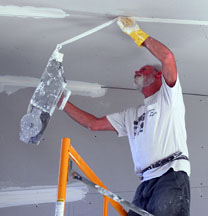
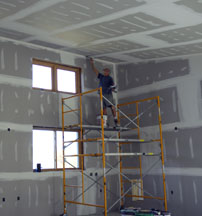
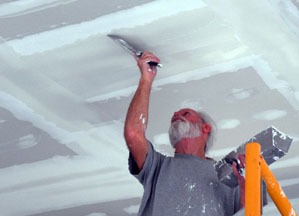
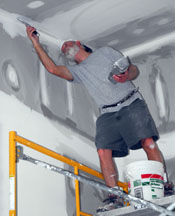
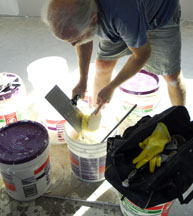
Charlie Osburn did a fabulous job covering the
seams and nails. Charlie used regular weight and mid-weight mud.
He began with regular weight mud because it bonds better and used mid-weight
mud for the top coats because it has a finer texture and is easier to sand. |
 |
 |
 |
 |
|
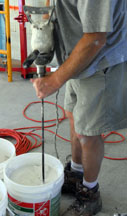
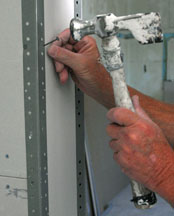
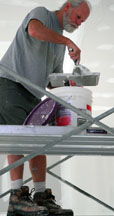
Charlie always mixed the mud
with water and sometimes mixed both types together (3/4 mid-weight with
1/4 regular) with a mixer drill. |
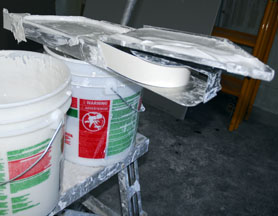
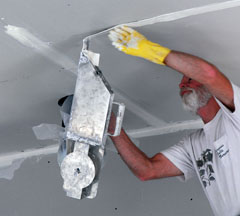
For the taping, he filled the open banjo with regular weight mud and paper tape . . . |
 |
 |
 |
 |
|
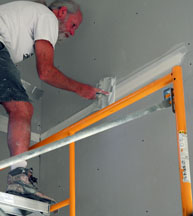
. . . then closed the banjo and used it to apply the tape over the seams,
five to six feet of tape at a time. |
The tape was pressed flat with a 6" knife . . . |
. . . and with an angle roller in the corners. |
 |
 |
 |
 |
|
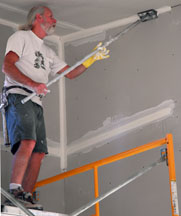
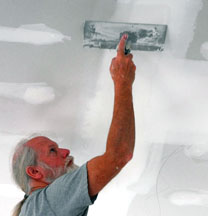
An 8" knife was also used to wipe down the wet tape. |
The angle roller did a great job in the corners. |
He went back and forth between the 6" and 8" knives to smooth the surface, while
holding the mud in a 12" pan. |
 |
 |
 |
 |
|
Rubber gloves protected his hands. |
He removed lumps with a drywall hammer . . . |
. . . and used the same tool to hammer nails into the corner strips. Once in place, the
strips were covered with a thick layer of regular mud. |
 |
 |
 |
 |
 |
|
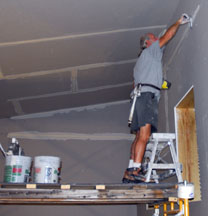
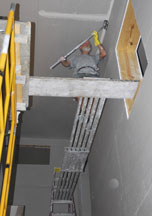
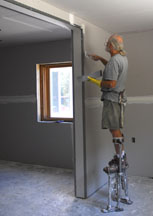
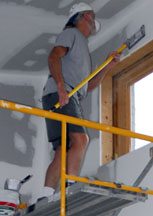
Drywall stilts helped him mud the green board in the bathroom. |
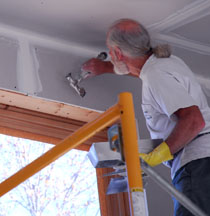
Three to four coats of mud were applied. Each coat was allowed to dry
overnight before
the next layer was applied. Ten inch and 12" knives were used to
feather the edges of the joints. The sides of the sheetrock are beveled,
but the ends are not, so a lot of mud was needed to hide the end seams
since the tape over those joints formed a slight bulge. |
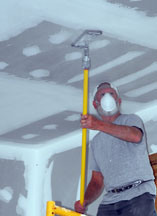
He used the edge of a 10" wide knife to gauge the size of the
gap between the bulge and the sheetrock, then filled the space with
mud. |
 |
 |
 |
|
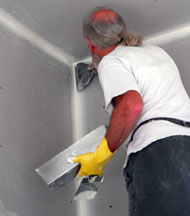
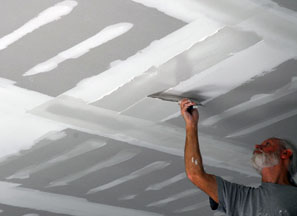
The mud was loaded into the tray, then onto the knife, spread over the joint
in several overlapping passes, then smoothed with the same knife.
The angle of the knife was carefully controlled
with the index finger. |
 |
 |
 |
 |
|
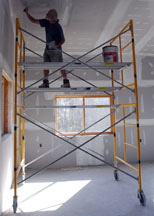
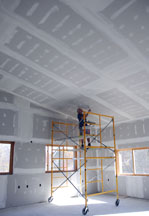
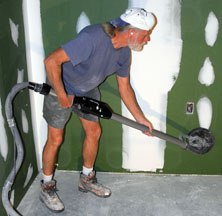
High walls and ceilings were then sanded with foam backed 100 and 120 grit sanding pads and fine and medium sanding
blocks. |
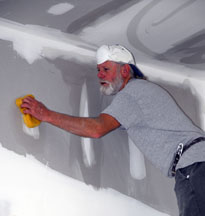
A sponge was often used to feather the edges between the mud and the
sheetrock. |
Mud was occasionally applied in spots where it was needed. |
 |
 |
 |
 |
|
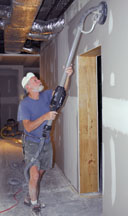
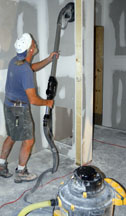
The shorter walls were sanded with foam-backed 150 grit sanding disks mounted to a Portercable
Loveless sander with a double filter bag. |
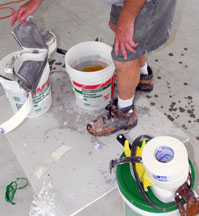
All the tools were cleaned every day with water. |
Link to footer and slab construction.
Link to ICF wall construction.
Link to construction of second floor.
Link to construction of walls of second story.
Link to ICF roof construction.
Link to stovepipe installation.
Link to insulated rubber roof installation.
Link to the window and door installation.
Link to steel framing.
Link to steel stairs installation.
Link to brick laying.
Link to overhang installation.
Link to gutter installation.
Link to electrical work.
Link to plumbing installation.
Link to septic tank installation.
Link to sheetrock/drywall installation.
Link to painting of the walls and ceiling.
Link to the installation of the floor tile.
Link to the installation of the flexible solar panels.
Link to the installation of the exposed aggregate driveway.
Back to the ICF main page.
Web page, text, and photographs
by Carol Ventura in 2009.