Insulated Rubber Roof over the ICF Roof of the Ventura-Gutek House and Studio

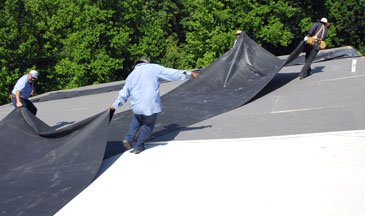
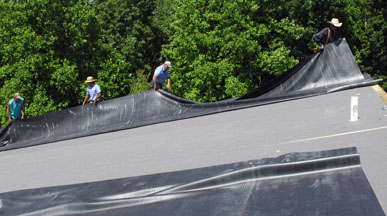
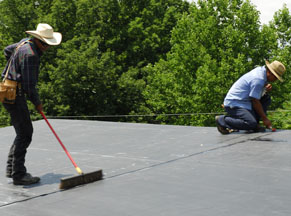
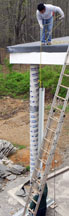
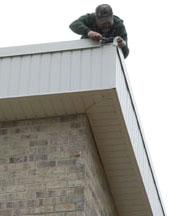
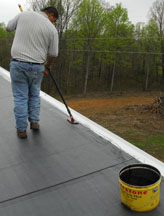
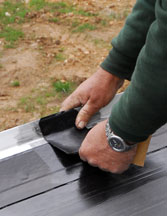
Turner Roofing (28 Kittyann Drive, Crossville, TN 38555, (931) 484-5307) installed an insulated rubber roof over the concrete slab to protect it from rapid cooling and heating and to waterproof the surface. Aluminum flashing will eventually cover the overhang (after the walls have been bricked). We plan to install peel-and-stick solar laminate over part of the rubber roof later to generate electricity for the house.
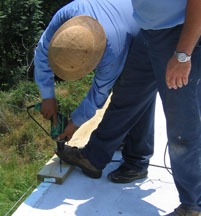
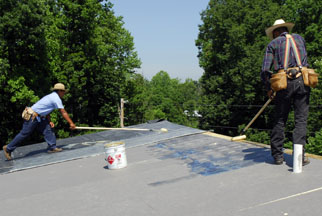
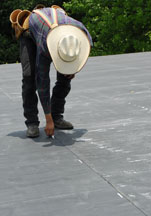
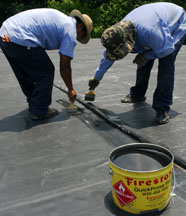
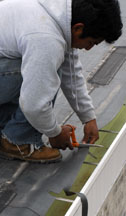
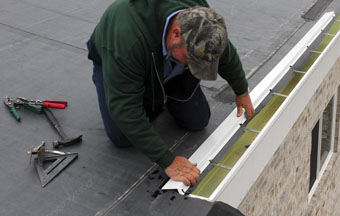
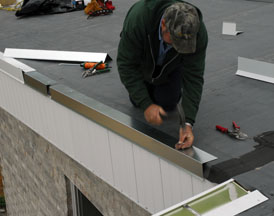
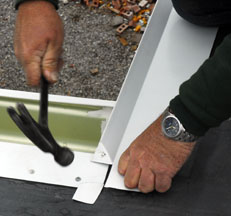
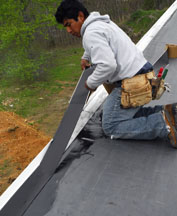
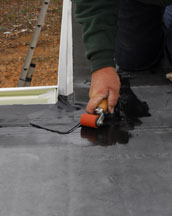
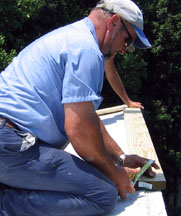
Jose Perez screwed 1/4" x 3 1/4" Tapcon concrete screws into holes that Wade Bottom II drilled into 2" x 6" pressure-treated wood and the concrete slab. It will secure the rubber around the perimeter and support a metal drip edge. Max Norred set the boards 3/4" off the edge of the roof, beginning at the corners. (The top of the aluminum flashing that will cover the overhang will be secured to this wood, too.) A string that is secured and held taught with screws helped line up the boards as they were screwed in place over the surface that was prepared by chipping and grinding off the rough concrete on the edge of the roof.

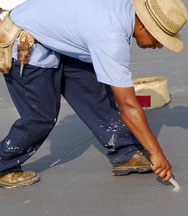
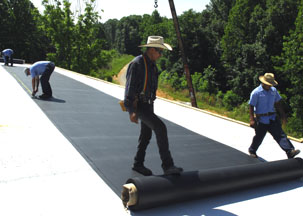
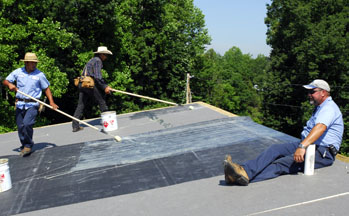
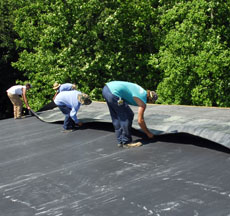
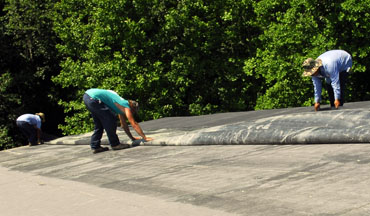
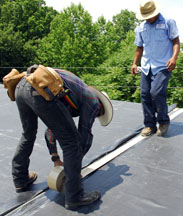
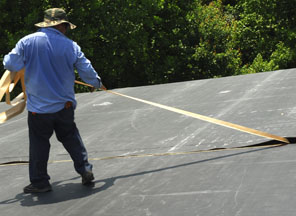
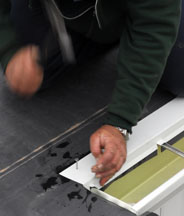
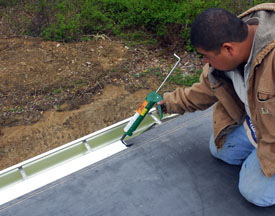
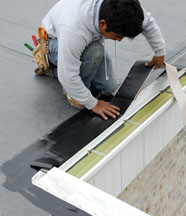
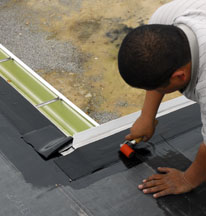
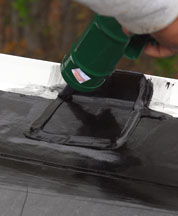
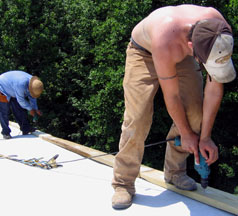
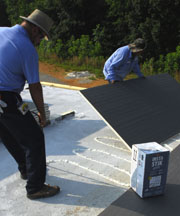
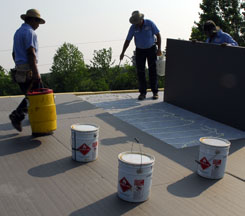
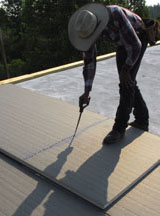
Max sprayed Insta Stik Quick Set commercial roofing adhesive onto the concrete while Jose placed 4'x 8' x 1 1/2" Polyiso panels (alternating the seams from row to row) and Dario Salomon Perez walked over them for adhesion and to weight them down. Ovidio Vasquez placed a panel where it needed to fit, then cut it to size along a chalk line. Dario cut the top of a panel where it needed to bend to conform to the uneven surface of the concrete.

A 20' x 100' roll of .060ml thick Fire Resistant Firestone rubber was measured and cut to size, then the 800 pound piece was dragged into position.

Max made sure the rubber didn't slide off the roof while Ovidio applied EPDM bonding adhesive to the insulating panels and Dario rolled it onto the back of the rubber. Wade, Wade Bottom Jr., Jose, and Ovidio waited for the glue to dry. Did I mention it was in the 90's? Once dry, they inched the edge forward while waving it up and down so that the air could help position it without any creases.

The other half of the rubber panel was then folded back. Dario and Ovidio applied glue to both surfaces.

After the adhesive dried, the rubber was moved into place - then another 20' wide piece of rubber was adhered just like the first, overlapping the seam 6". Then Ovidio marked the edge of the seam. Then the seam was folded back so that primer could be applied to both surfaces.

Ovidio applied peel and stick lap tape while Dario pressed it onto the seam with his foot. The seam was unfolded to cover the tape, then Jose removed the paper backing. Ovidio smoothed the seam with a broom while Dario secured it with a roller

Instead of removing the chimney flashing, the cap and collar were removed so that another flashing could be installed over it. A foam panel was then cut and adhered. With the rubber in place, Jose applied adhesive to the bottom of the new flashing and the rubber. The metal flashing was pressed down all around after the adhesive had dried. Dario then sealed the perimeter with primer and patches...

...layer upon layer, carefully priming both surfaces before placement. Jose pressed them together with a roller.

Boots were glued in place around all the pipes. The top edge was rolled down, then sealed. Then the boot edge and the other patches were sealed and smoothed. A ring clamp around the top further insured that no water can penetrate.

The metal drip ledge was installed after the brick were laid and the overhang flashing was installed.
Three types of 10' long metal strips were prepared on a computer-controlled brake: galvanized butt plate, white steel gutter edge, and white steel stand up gravel guard edge. Several were clamped together, then the clamp was tied to a rope and raised to the roof. Dario trimmed the rubber around the gutter brackets with scissors. Max used tin snips to cut away the places where the gutter guard touched the gutter brackets.

He then set it in place and secured it with 1 1/2" galvanized roofing tacks hammered into to the wooden 2 x 6 pressure treated wood (that was screwed to the edge of the roof before the rubber was installed). Jose applied black lap sealant to the places where the metal strips overlap.

Butt plate was used to support the stand-up gravel guard. It was set a few inches away from the previous piece (to make it easier to slip on the gravel guard), then hammered to the wood under the rubber. The gravel guard was slipped over the bottom of the butt plate and then pulled up, snapped into place, then nailed every few inches.

The inner and outer corners were a real challenge; requiring Max to repeatedly measure, mark with a pencil, cut with tin snips, fit, refit, and hammer.

Quick Prime Plus was applied to all the seams. After the primer dried for a few minutes, 5" wide peel and stick tape was pressed onto the seams, then it was bonded to the rubber with a roller.

More primer was applied to all the joints, then patches were set in place, rolled, and the edges were caulked. Dario caulked all the seams on the bottom of the slope.

Link to footer and slab construction.
Link to ICF wall construction.
Link to construction of second floor.
Link to construction of walls of second story.
Link to ICF roof construction.
Link to stovepipe installation.
Link to the window and door installation.
Link to steel framing.
Link to steel stairs installation.
Link to brick laying.
Link to overhang installation.
Link to gutter installation.
Link to electrical work.
Link to plumbing installation.
Link to septic tank installation.
Link to sheetrock/drywall installation.
Link to mudding / sheetrock finishing.
Link to painting of the walls and ceiling.
Link to the installation of the floor tile.
Link to the installation of the flexible solar panels.
Link to the installation of the exposed aggregate driveway.

Back to the ICF main page.

Web page, text, and photographs by Carol Ventura in 2008 - 2009.