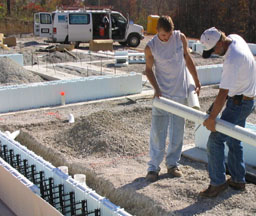
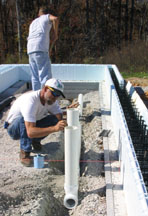
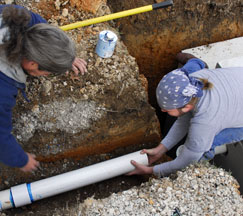
| Eric Harris and Doug Bos of M & D Electric (100 Mill Drive, Cookeville, TN, 38501, 931 520-8847; highly recommended) set the drain pipes into the gravel before the floor was poured in 2003. | ||
 |
 |
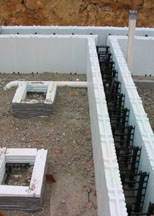 |
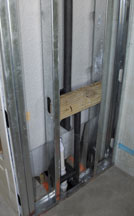
| Doug cut the cellular core PVC drain pipe to size with a reciprocating saw, then he and Eric glued and set the pipes into sloped trenches. | ICF frames will block the concrete from the shower and tub drains. | |
 |
 |
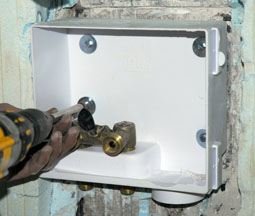 |
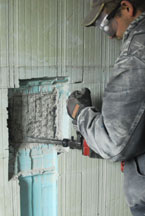
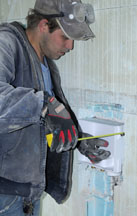
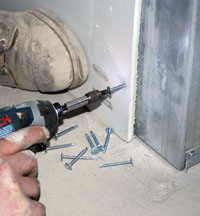
| The rest of the plumbing was done in 2009 and 2010. To install the washing machine valves, Justin Jackson cut away the ICF foam, chipped away some of the the concrete wall, then attached the outlet box to the wall with Tapcon screws. | ||
 |
 |
 |
 |
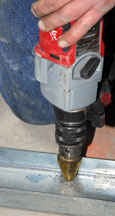
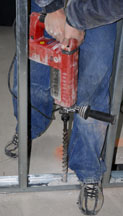
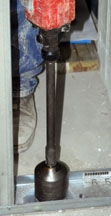
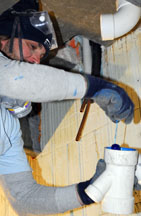
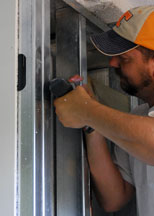
| The plumbing on the second floor was installed in the space made by the joists supporting the concrete floor. To drill holes through the metal track and concrete floor, Mike Peace used a Unibit to go through the metal track, then a diamond-tipped bit in a hammer drill for the small holes and a diamond-studded core bit for the large holes. | |||
 |
 |
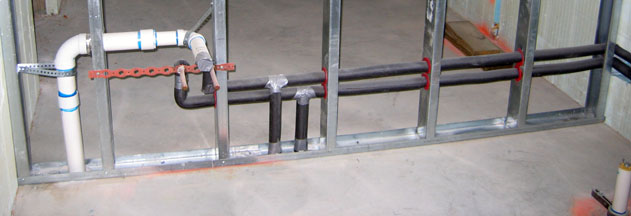
| The white pipe will drain the sink and the type K copper pipes for the hot and cold water are covered with black insulation. | This drain pipe is temporarily supported. |
 |
 |
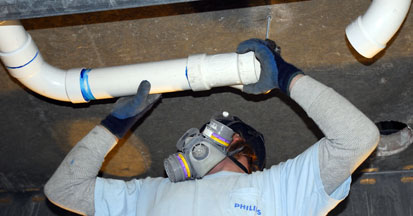 |
| Mike Peace cut and glued together the second floor drainage pipes above the ceiling of the first floor. | ||
 |
 |
 |
 |
 |
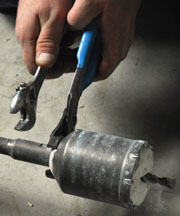
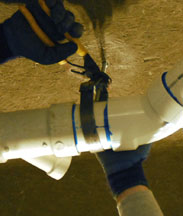
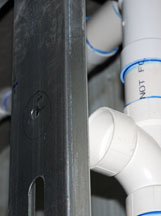
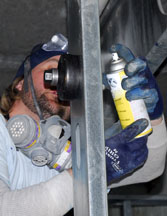
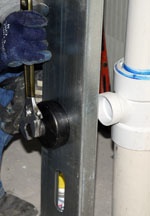
| Mike tightened the bolt of the 3" steel Clevis hanger to adjust the pipe's slope. | He used a Greenlee knockout hole punch set to make a 3" hole in a 6" metal stud to accommodate a drain pipe. He drilled a pilot hole, sprayed the set with oil, placed the pieces on both sides of the stud, then turned it with a wrench to cut a clean hole through the metal. | |||
 |
 |
 |
 |
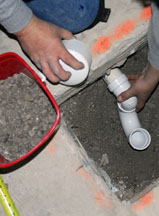
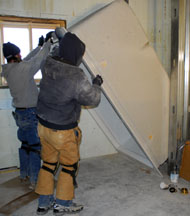
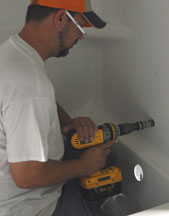
| After connecting the drain pipe to the pipe set into the slab (set before the concrete was poured), the shower was tipped and pushed in place. Holes were drilled along the edges of the shower unit (to avoid cracks), then self tapping screws were used to secure the stall to the studs. | |||
 |
 |
 |
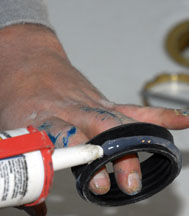 |
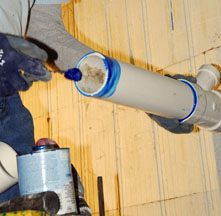
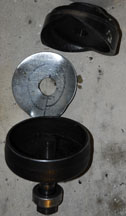
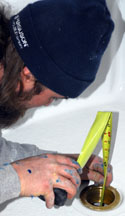
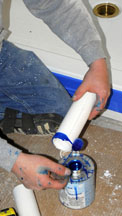
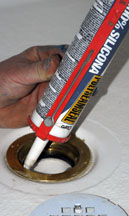
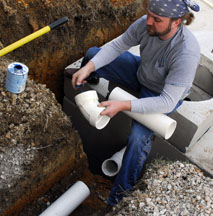
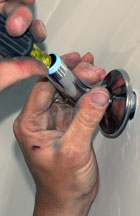
| Mike applied plumber's putty around the drain before placing the first part of the drain over the hole (not pictured here, but see below). The distance to the drain pipe (just set into the floor) was measured, then a PVC pipe was cut to size and glued in place. Silicon was applied around the rubber gasket before sliding it onto the pipe. | |||
 |
 |
 |
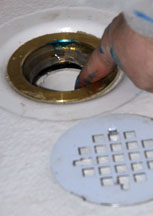 |
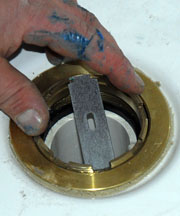
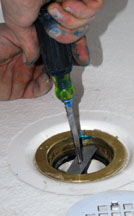
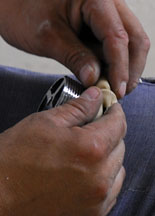
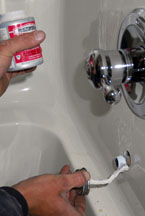
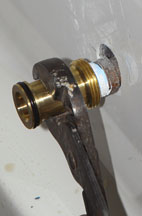
| The brass rim was screwed in place with a special tool and a screwdriver. | Silicon was applied, then the top of the drain was screwed in place. | ||
| Installation of a tub/shower unit plumbing: | |||
 |
 |
 |
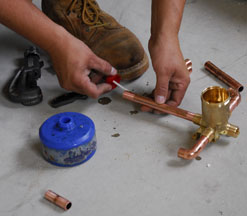 |
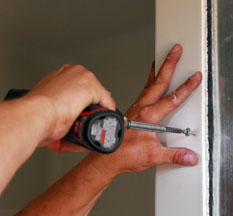
| Todd Connell drilled holes into the side of the shower for the fixtures. | Todd next cut the type K copper pipe, then cleaned the joints with abrasive paper. | He then painted S-39 flux on all the joints. | |
 |
 |
 |
 |
 |
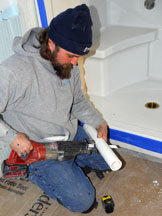
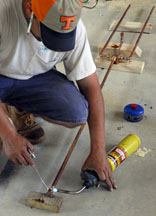
| Todd used a Mapp gas torch to join the diverter pipes together with lead-free solder. | He screwed the diverter to pressure treated wood, then screwed the wood to the metal studs. | Todd wrapped the copper pipe with black insulation. | Todd then secured the tub to the metal framing with self-tapping screws. | He then installed the drain by first applying plumber's putty around it (see above for the rest of the installation). |
 |
 |
|
The drain pipe was then connected outside to the septic tank. |
|
 |
 |
 |
 |
 |
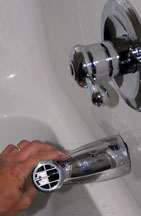 |
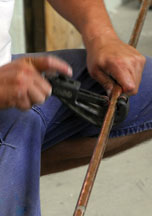
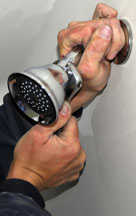
| Justin wrapped the threads of the shower head pipe with Teflon tape, screwed it in place, then screwed on the shower head. He didn't use pipe dope because it would show. | Justin wrapped the spout thread with plumber's Teflon tape, painted it with pipe dope for an extra good seal, then screwed the brass fitting and spout in place. | ||||