| The hardworking men of Rock Solid Concrete (931 537-2233) of Cookeville, TN, transformed our lumpy, dusty driveway into a work of art! We wanted an attractive, extra strong surface, so we opted for reinforced six-inch thick exposed aggregate. Below you can see how they installed the exposed aggregate driveway. | ||
 |
 |
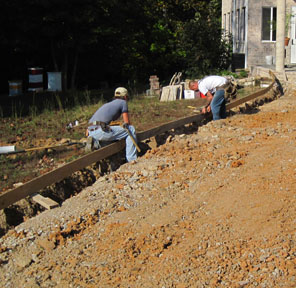 |
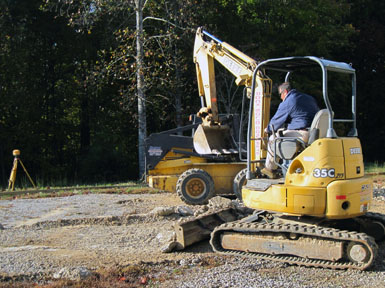
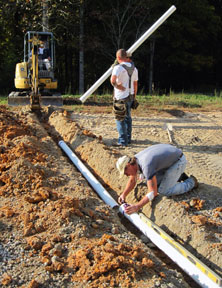
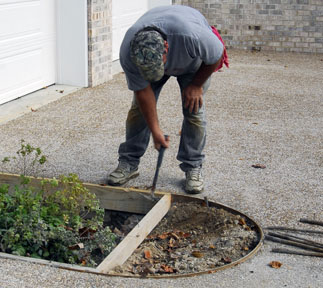
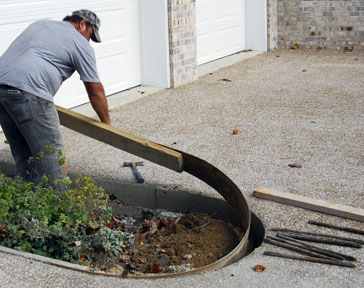
| After surveying with a laser level, co-owner Shawn Larsen skillfully removed clumps of concrete and rocks with his mini excavator to create a smooth surface that sloped away from the house. | Shawn dug a ditch for the downspout drainage pipe while Allen Stowell glued the pvc components together (after checking the downward slope of the pipe with a level). | Another ditch was dug along the bottom of the driveway to assure it will not slide down the slope (speaking from experience, driveways are known to do that). A wooden form was then built on the outer edge of the ditch. |
 |
 |
 |
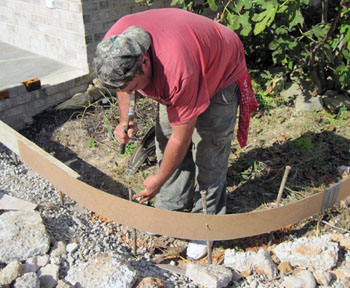
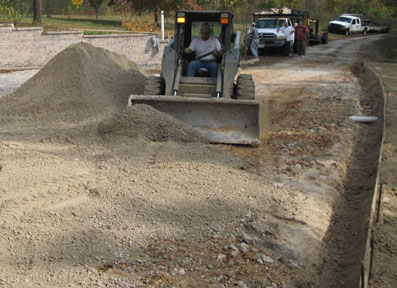
| A front end loader was used to backfill the wooden form with dirt to help support it during the pour. | Rickey Tollison hammered 2' steel pins into the ground to help brace a curved Masonite form. | A level assured that both sides of this curving Masonite form were the correct height. |
 |
 |
 |
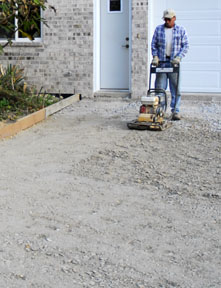
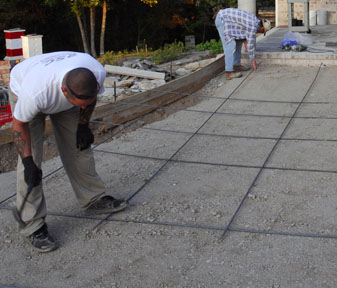
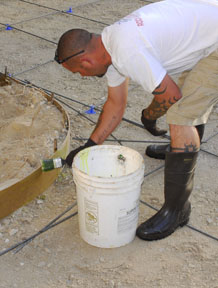
| Trevor Johnson spread and then leveled a load of crushed stone all over the surface. | The next day, Allen compacted the stone with a gas powered vibratory compactor/tamper. | Trevor used an electric hammer drill to make holes for inserting 3/8" rebar (which will also keep the driveway in place). |
 |
 |
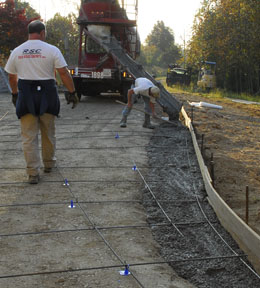 |
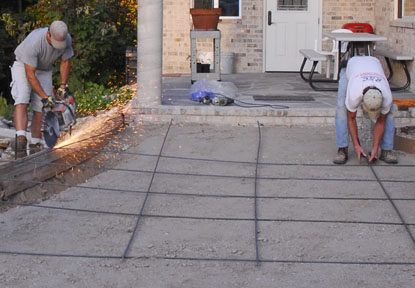
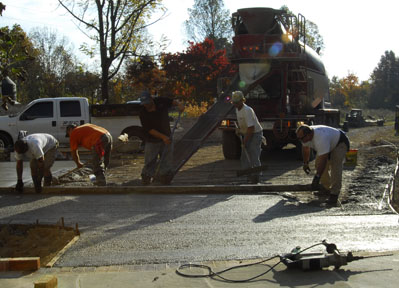
| Steward Daniels (who has worked on our house from the beginning) hammered a length of rebar into the hole while Allen held it in place. | Trevor cut the extra length off the rebar with a metal-cutting blade in a gas powered portable cut off saw while Allen wired the rebar together where they crossed. | Shawn supervised while concrete was poured into the ditch. Notice the blue plastic "chairs" under the rebar (to embed the rebar in the concrete). |
 |
 |
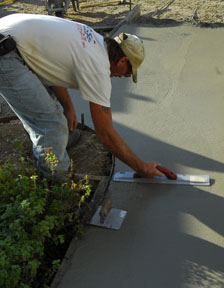 |
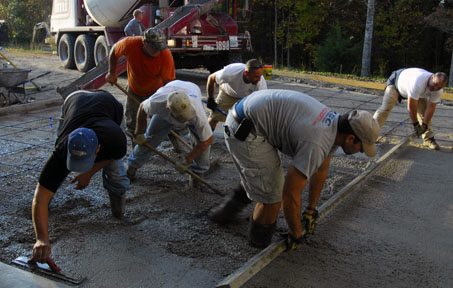
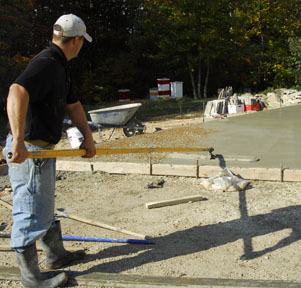
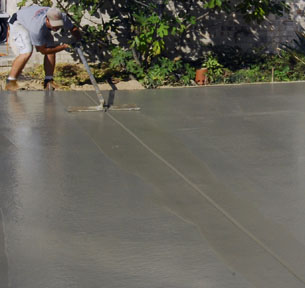
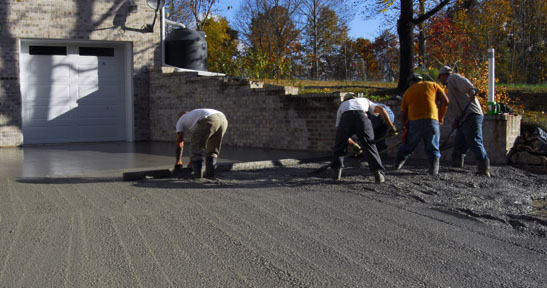
| Stewart painted vertical gel retardant onto the forms where the sides of the driveway will be exposed. | In a coordinated effort, concrete was poured, spread, and leveled with a 16' aluminum screed and finishing tools. | Allen used a hand float and a curved edger to smooth the concrete around the form. |
 |
 |
 |
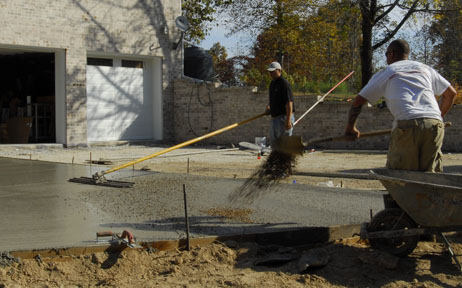
| Little by little, the concrete was poured and smoothed, adding chairs as the truck moved off the rebar. | The concrete was mixed with pea gravel instead of regular gravel, but to enhance the surface Stewart threw more pea gravel onto the freshly poured concrete, then Clint Willoughby went over it with a bull float, embedding the pea gravel into the fresh, wet concrete. | |
 |
 |
 |
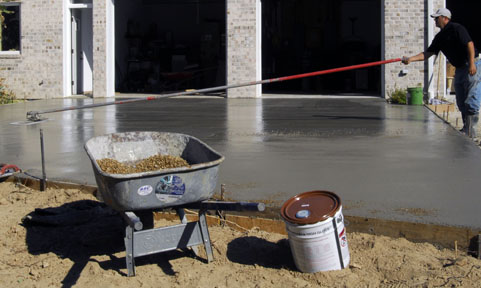
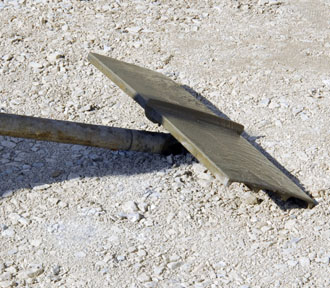
| The surface was then smoothed one more time with the large float. | A bull float jointer was used to create an expansion joint. | |
 |
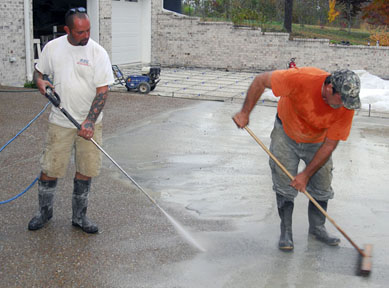 |
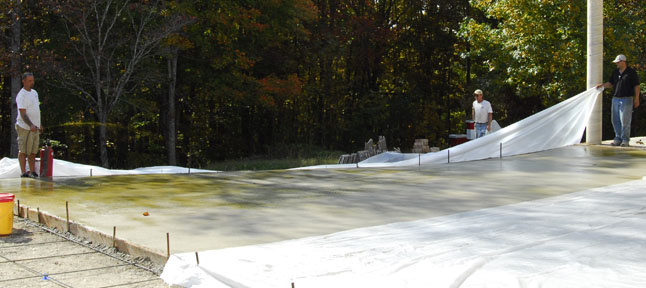
| After the bleed water (surface water) had dried (it took a few hours), Stewart sprayed on yellow retardant with a pump sprayer so that the top part of the concrete would not dry out, then the wet surface was carefully covered with sheets of plastic for several hours. | Because it was going to rain the next day, Stewart power washed off the top layer of moist concrete in the afternoon and evening (exposing the pea gravel) while Rickey swept away the wet concrete. |
 |
 |
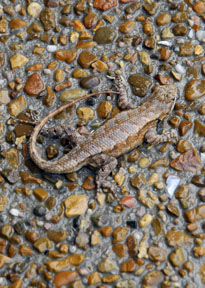 |
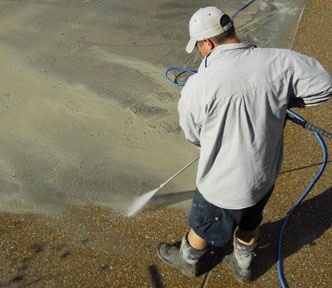
| Because of the rain, the other part of the driveway was poured two days later. It was processed the same way as the first section, except the plastic was left on overnight and then the surface was power washed the following day. | Clint power washed off the wet concrete, slowly exposing the beautiful stone. It took him most of the day. Every once in a while, he stopped and scooped up the piles of debris with a flat shovel. | Can you see the lizard on the freshly washed driveway? He was spying on Clint. |
 |
 |
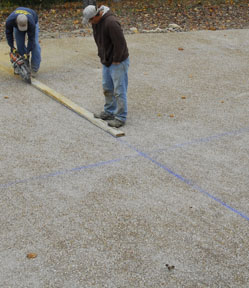 |
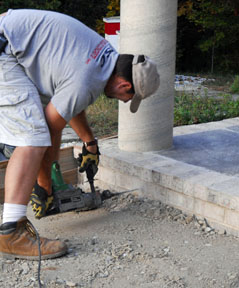
| A few days after the pour, Rickey hammered the sides of the metal pins to loosen them, then pulled them out of the ground. He also used his hammer to loosen and remove the nails and wooden forms. | Next, expansion joints were cut into the slab with a diamond blade, a quarter the thickness of the slab. | |
 |
 |
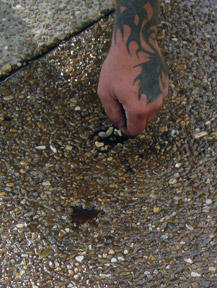 |
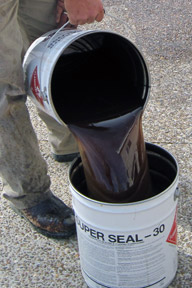
| The driveway was power washed one more time the day before it was sealed. A leaf blower removed debris right before the sealer was applied, then the oil based pigmented sealer was MIXED WELL and rolled on. | Pebbles were placed in depressions filled with sealer (to hold them in place). | |