Window and Door Installation of the Ventura-Gutek ICF House

Because the window and door openings were too large and neither level nor square, they required a lot of preparation. It was especially important to make sure that the tops of the windows next to each other were at the same height so that the brick could be laid correctly.

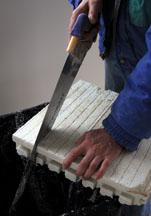
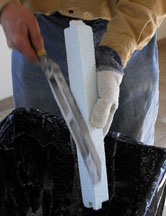
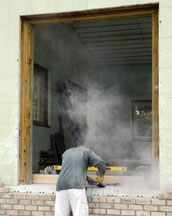
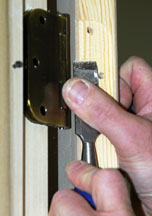
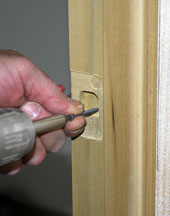
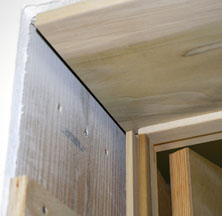
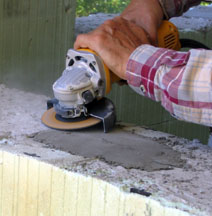
The screws that secured the wood during pouring were removed from the inside and outside edges of the foam blocks, then the sills were chipped, patched with grout, and ground where necessary.

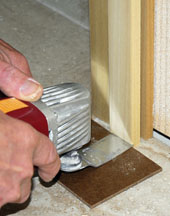
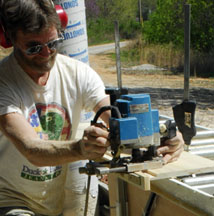
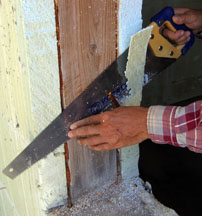
The foam was cut flush with the wood.

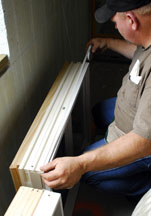
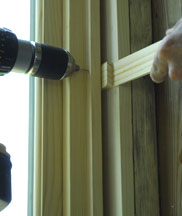
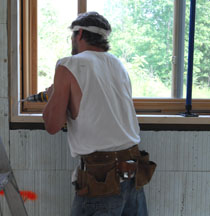
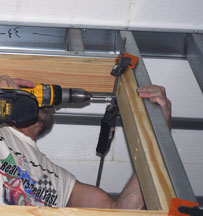
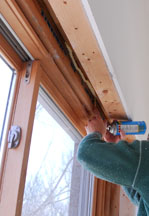
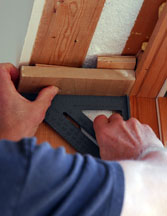
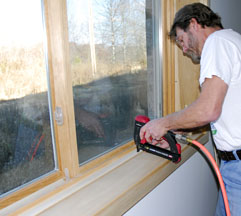
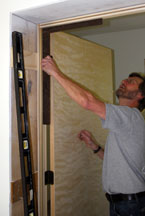
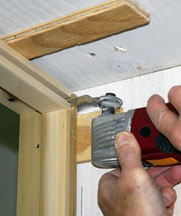
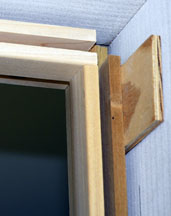
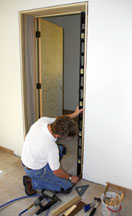
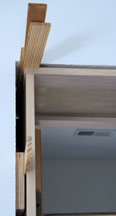
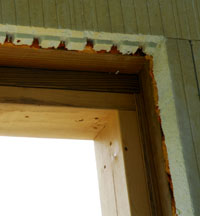
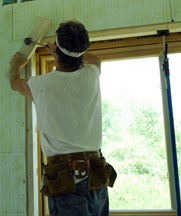
The outer edges of the window openings were lined with 2" x 6" wood. Pressure treated wood was attached (with Tapcons screws) to the cement sill and white wood was screwed to it and to the sides and top. Additional wood was also added around the window and door openings that were too large, then the windows and doors were installed into these rough openings.
The extra wood at the top, bottom and sides of the window and door openings was very expensive to install! We would have saved thousands of dollars had the rough openings in the ICF walls been framed to the specified sizes on the plan!

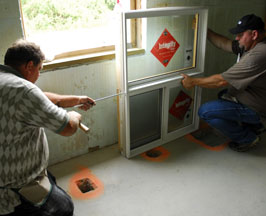
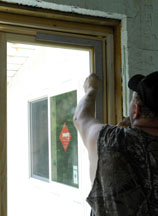
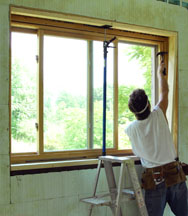
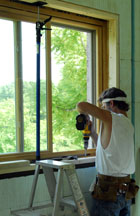
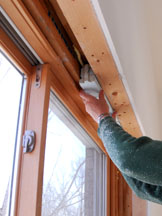
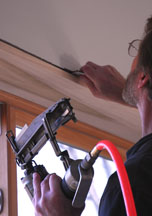
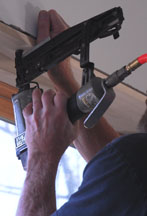
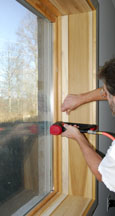
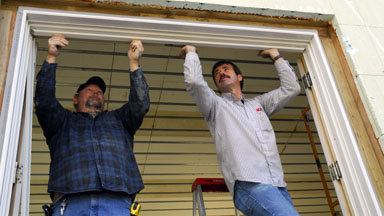
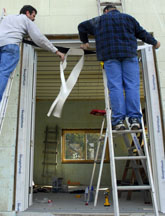
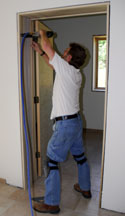
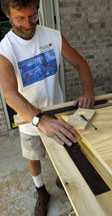
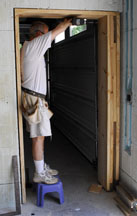
The windows were then installed into the rough opening.
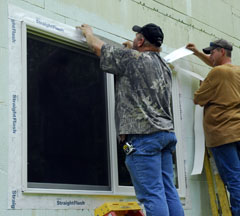
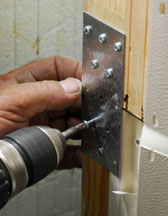
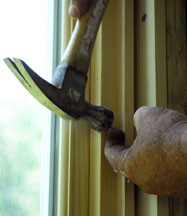
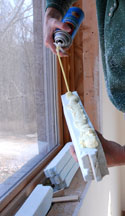
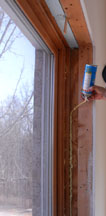
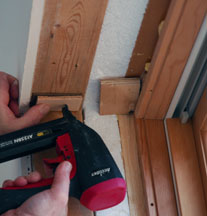
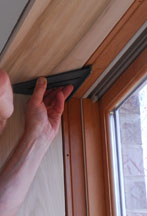
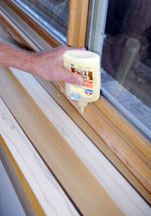
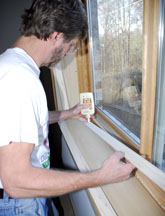
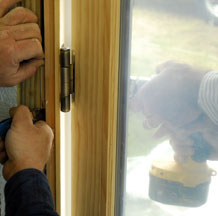
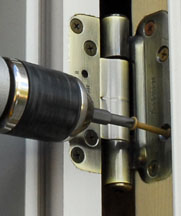
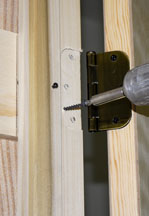
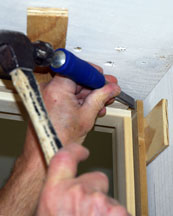
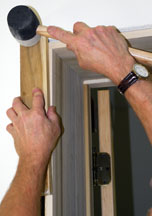
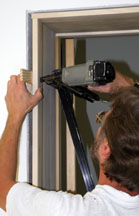
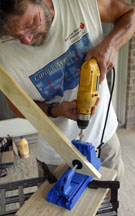
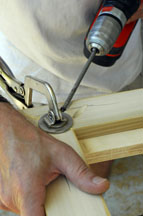
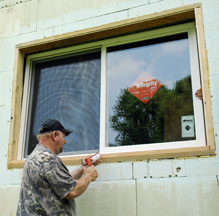
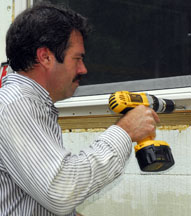
Steve Copeland applied a bead of silicon around the outside edge of the rough opening (just before the window was inserted from the inside of the house). Mike Wright secured the lip around the edge of the window to the wood of the rough opening with screws. Steve and David Morgan sealed the edges with peel-and-stick window wrap.

Steve Copeland and Steve Gunter joined a transom and slider together. After applying a weather strip, then hammering a shaped metal mulling strip into grooves along the edge of each window, a metal plate was screwed over the joint.

After making sure that the window was square, shims were inserted along the side and top, in the space between the the jamb and the rough opening. A hole was drilled, then a finishing nail secured it.

The interior finishing around the not square and not level windows was quite a challenge, but Mike Whiteman was up to it! The first step involved screwing and nailing 2 x 4's around the interior of all the windows so that the sheetrock and final trim could be securely screwed and nailed in place. The edge of the wood was placed on the same plane as the foam walls. The interior windows were lined with wood for the same reason.

Carol filled the airspaces between the windows and 2 x 4's with foam. Pieces from left-over ICF blocks were cut and rasped to size, then secured with spray foam (the type for windows). The gaps between the windows and openings were also filled with cut pieces and spray foam, being very careful not to put too much (which would warp the window frame and affect the operation).

Spacers were added around the window to adjust the level of the 1" x 8" poplar jambs.
A piece of poplar (the same thickness as the jamb) ws used to figure out the thickness of each spacer, then the spacers were nailed in place.

The jambs were cut to size and inserted, the top one first. The jambs were checked for square, more shims were added where necessary, then the jamb was nailed in place.

Wood glue was applied to the sill and a piece of trim that will cover the gap between the window and the jamb.

Then the trim was set in place and nailed around the jamb.

Exterior Door Installation:

The frame was filled with wood to bring it to size, then the sill was leveled with a grinder. The sill and frame were caulked with silicon, then the door was inserted. After checking that the door was plumb and level, shims were inserted between it and the wall opening then screwed in place at the hinges. Shims were also placed behind each predrilled frame hole, then screwed in place.

Steve and Mike inserted the molding that covers the screws. Then they wrapped the outside edge of the door.

Interior Door Installation:

Most of the interior walls are more than a foot thick, wider than the standard frames available on pre-hung doors. Mike Whiteman installed the pre-hung doors, but removed the jambs without the hinges and replaced them with a wider boards.
Mike inserted plywood spacers between the openings and hinged jambs, then nailed and screwed through the spacers, repeatedly checking that everything was square and plumb. He inserted many long screws behind the strike plates and hinges to hide the screw heads. Some jambs were trimmed on the bottom because the uneven floor pushed the frames out of square. Some hinges were not set deep enough, so he removed them and skillfully removed wood, where necessary.

The corner of each door jamb was cut to accommodate the rabbet of the top jamb, which was set first. Several passes of the router created the rabbet.

The rabbeted edge of the jamb was slid into the groove, then adjusted to make it level with the wall. More spacers were added, where necessary, to make it plumb and square, then it was nailed in place over the spacers. The ends of the spacers were then cut off.


The window and door frames were finished with 1" x 3" poplar. Mike Whiteman assembled the frames before tacking them around the windows and doors.
Mike cut two angled holes into the mitered corners- then glued and clamped them and checked for square- then drove in two screws to secure the glued miter joint. Mike drilled a hole into the outside of the frame, then inserted another screw to further reinforce the miter joint.

Link to footer and slab construction.
Link to ICF wall construction.
Link to construction of second floor.
Link to construction of walls of second story.
Link to ICF roof construction.
Link to stovepipe installation.
Link to insulated rubber roof installation.
Link to steel framing.
Link to steel stairs installation.
Link to brick laying.
Link to overhang installation.
Link to gutter installation.
Link to electrical work.
Link to plumbing installation.
Link to septic tank installation.
Link to sheetrock/drywall installation.
Link to mudding / sheetrock finishing.
Link to painting of the walls and ceiling.
Link to the installation of the floor tile.
Link to the installation of the flexible solar panels.
Link to the installation of the exposed aggregate driveway.

Back to the ICF main page.
Web page, text, and photographs by Carol Ventura in 2008 - 2010.