Ventura-Gutek ICF House and Studio Floor Tile Installation

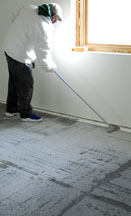
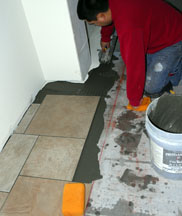
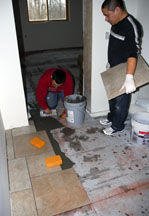
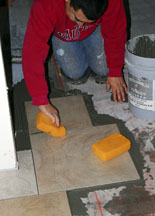
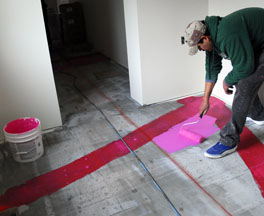
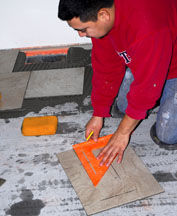
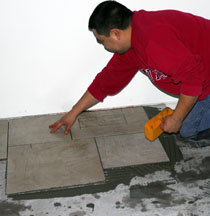
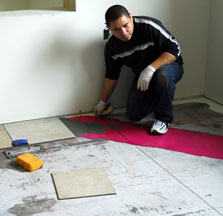
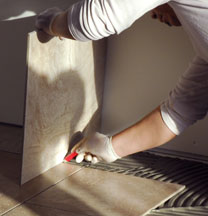
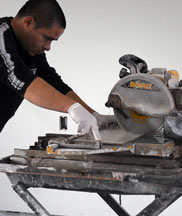
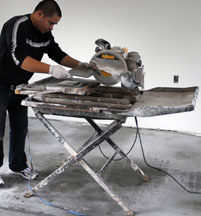
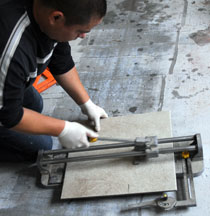
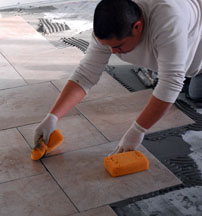
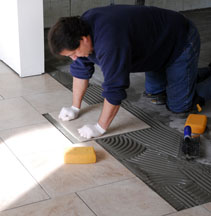
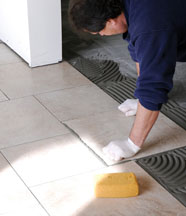
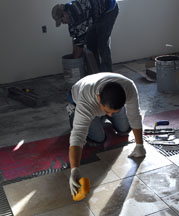
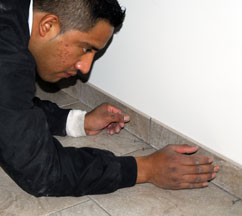
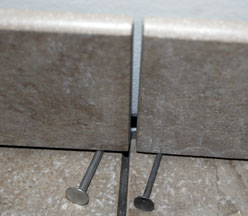
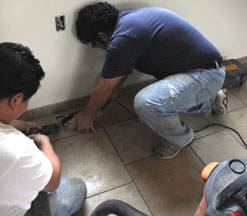
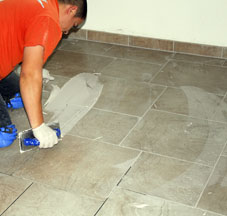
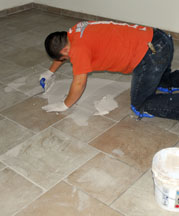
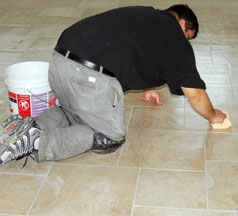
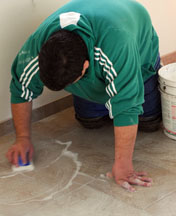
Chuck Adams and his Custom Tile crew installed porcelain tile on the concrete floors.
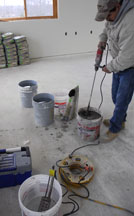
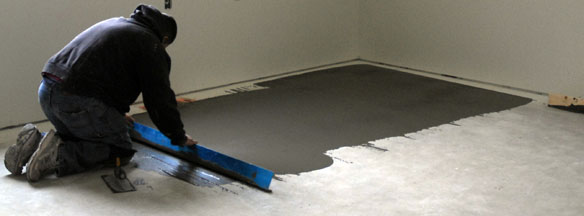
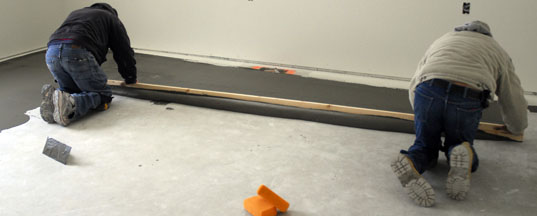
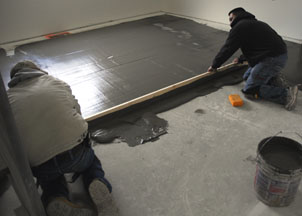
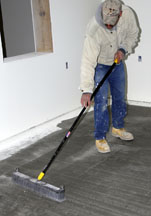
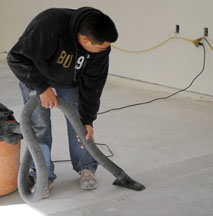
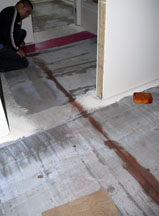
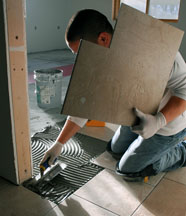
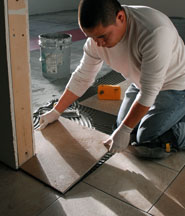
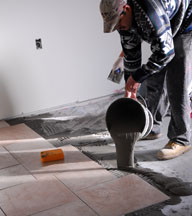
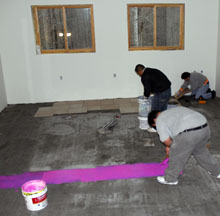
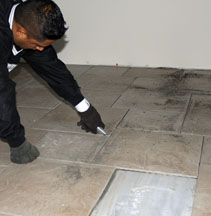
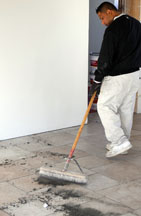
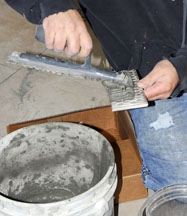
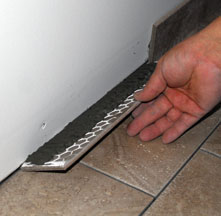
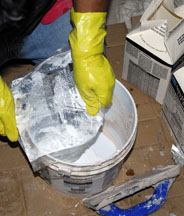
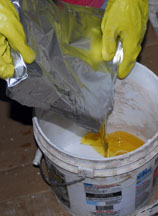
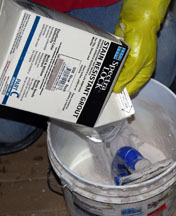
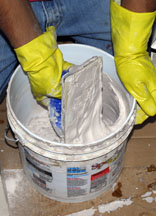
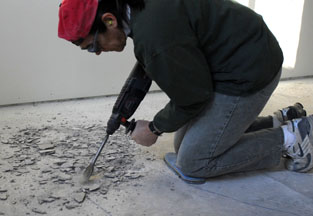
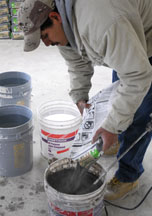
Five years of exposure to rain, sun, and ice damaged some of the living room floor, so Carol chipped off the top layer where it had separated to provide a stable surface. Thinset was used to level the concrete floors and to set the tile. Guadalupe Martinez blended powdered thinset and warm water with an electric mixer.

The floors were not even, so thinset was applied and leveled with a metal straight edge.

A long wooden 2" x 4" was used to level the middle of the large rooms. The floors of the house did not become perfectly level, but most of the humps and dips were removed with this method. The floor was too uneven to level it any other way.

The thinset was scraped smooth with a narrow scraper after it dried overnight. Drier parts were scraped with the razor sharp tool seen in the upper right.

The scraped bits were swept, then vacuumed.


Chuck suggested a hopscotch pattern of 18" x 18" and 13" x 13" tiles to camouflage the floors of the rooms and hallways that were not square. The upstairs floor was tiled first. Jorge Pineda laid out and then set the tiles with Javier Ponce's assistance.
Tile setting began in the hallway, then continued into the rooms off the hallway to assure a continuous pattern. Carefully placed chalk lines determined the placement. Thinset was poured and spread, then the tile was set and pressed until the thinset oozed out of the joints. No spacers were used - it was done visually, which allowed for adjustments.

Guadalupe painted Redguard over cracks in the concrete to allow the concrete to expand and contract without cracking the tile. How did he know where the cracks were located under the layer of thinset? Well, arrows were penciled onto the bottom of the walls at the end of each crack before the thinset was put down so that the cracks could be later located under the thinset.

Many tiles needed to be trimmed. They were marked, then cut. Complex cuts were done with a wet ceramic tile saw and straight cuts were done with the diamond tipped tile cutter seen in the far right.

Javier skillfully continued the hopscotch pattern from the hall into the next room. Guadalupe poured thinset onto the floor, then Javier leveled it with a notched trowel. After placing the tile, Javier removed excess thinset with a clean wet sponge. If the tile was too high, he lifted the tile, scraped away some thinset, then reset the tile.

Tile setting on the bottom story followed the same procedure, except that the tiles were set at the edge of the living room, then proceeded to the other rooms. It was more complicated than the upstairs floor because the hopscotch pattern had to precisely meet after going around the kitchen and rejoining in the hall.
The floors were leveled with thinset, then membrane was painted over the cracked areas.

Chuck set the tile in the dining room and kitchen.


Guadalupe rinsed the sponges in warm water as Javier dirtied them with thinset. Luis Gonzalez scraped dry thinset with a boxknife to remove it from the joints a day after the tile was set. The thinset that was scraped out of the joints was swept away, then the joints were vacuumed before the grout was applied. Unfortunately, dark gray inset can still be seen on the edges of many of the tiles.

Three inch high porcelain tiles were set around the edge of the floors. The center of each wall was marked with a pencil, then tile placement was checked to make sure that small pieces of tile would not be installed in the corners and ends of the walls.
Thinset was applied on the back of the tile, then the tile was set against the wall. Roofing nails were used to support the tiles to form a gap on the bottom for the grout. The nails were removed the next day.

HVAC register holes were cut out with a diamond blade after the thinset dried over night. The fine dust was vacuumed while cutting.

Epoxy grout was chosen because it is stain and water resistant.
Parts A and B and the powdered color were mixed in a bucket with the grout spreader.

Javier spread the grout in a circular motion across the tiles several times to make sure that the grout penetrated the joints. A few minutes later, Luis Gomez wiped the excess grout off the surface with a clean, wet sponge. Luis washed the floor the next day with a mixture of vinegar and water.

Link to footer and slab construction.
Link to ICF wall construction.
Link to construction of second floor.
Link to construction of walls of second story.
Link to ICF roof construction.
Link to stovepipe installation.
Link to insulated rubber roof installation.
Link to the window and door installation.
Link to steel framing.
Link to steel stairs installation.
Link to brick laying.
Link to overhang installation.
Link to gutter installation.
Link to electrical work.
Link to plumbing installation.
Link to septic tank installation.
Link to sheetrock/drywall installation
Link to mudding / sheetrock finishing.
Link to painting of the walls and ceiling.
Link to the installation of the flexible solar panels.
Link to the installation of the exposed aggregate driveway.

Back to the ICF main page.

Web page, text, and photographs by Carol Ventura in 2010.