Stovepipe of the Ventura-Gutek House and Studio

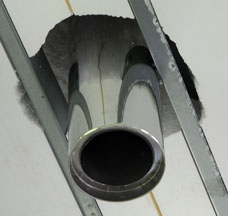
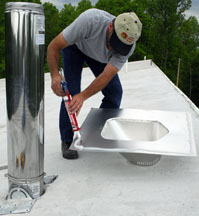
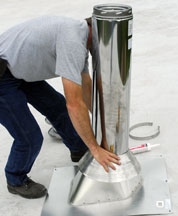
An 8 1/4" diameter hole was cut into the ICF roof panel, then a cardboard sonic tube was inserted before the concrete was poured to provide a hole for the stovepipe.

To install the stovepipe, Dale Miller screwed two brackets onto an insulated stovepipe, slid the pipe into the hole made by the sonic tube, then secured the brackets to the concrete slab.

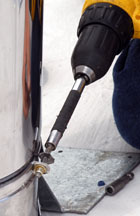
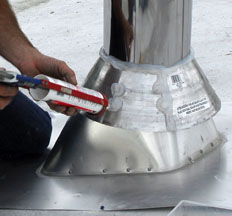
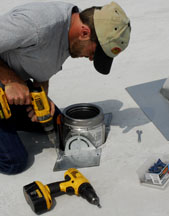
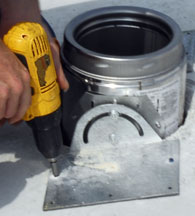
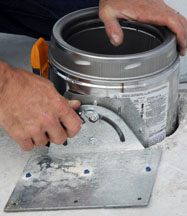
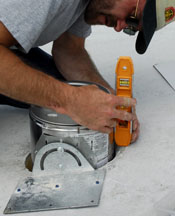
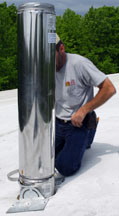
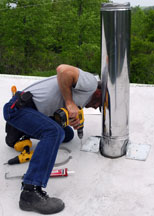
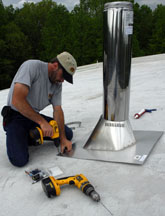
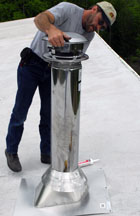
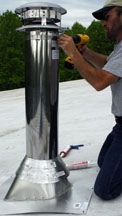
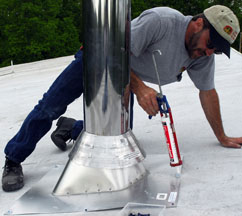
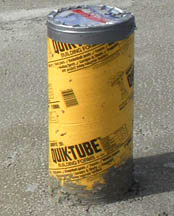
The sonic tube was left in place all winter to keep out the rain, then it was removed right before Dale arrived. A hammer drill and the bit included with the screws was used to make pilot holes that were 1/4" deeper than the screws. Dale used a hex socket mounted in another drill to screw Tapcons through the bracket holes and into the concrete.

Dale loosened the bolt of the bracket with a wrench so that he could level the pipe after it was secured to the slab. After the pipe is perfectly vertical, Dale will tighten the bracket bolts. View of the bottom of the stovepipe from the ceiling. Three inches of the ICF panel were removed around the pipe to keep the foam from melting. Sheetrock and flashing will hide the hole.

Since the top of the pipe should be at least 2 feet above any portion of the roof that is ten feet away, another insulated pipe was added. A ring clamp was screwed in place to secure the joint. Although Tapcons are usually not inserted on the outer part of the brackets (because the heads make the flashing pop up), I asked Dale to screw them into the holes for added security. Dale coated the bottom edges of the vented flashing with 100% silicon.

The flashing was slid on, smoothed, then Tapcons secured the edges. A collar was slid in place to keep water out of the vent holes of the flashing. The cap was added, then a ring clamp was screwed in place to secure the tabs.

Dale squeezed 100% silicon onto the seams and tabs, then smoothed the silicon with his finger.

Link to footer and slab construction.
Link to ICF wall construction.
Link to construction of second floor.
Link to construction of walls of second story.
Link to ICF roof construction.
Link to insulated rubber roof installation.
Link to the window and door installation.
Link to steel framing.
Link to steel stairs installation.
Link to brick laying.
Link to overhang installation.
Link to gutter installation.
Link to electrical work.
Link to plumbing installation.
Link to septic tank installation.
Link to sheetrock/drywall installation.
Link to mudding / sheetrock finishing.
Link to painting of the walls and ceiling.
Link to the installation of the floor tile.
Link to the installation of the flexible solar panels.
Link to the installation of the exposed aggregate driveway.

Back to the ICF main page.

Web page, text, and photographs by Carol Ventura in 2008.